

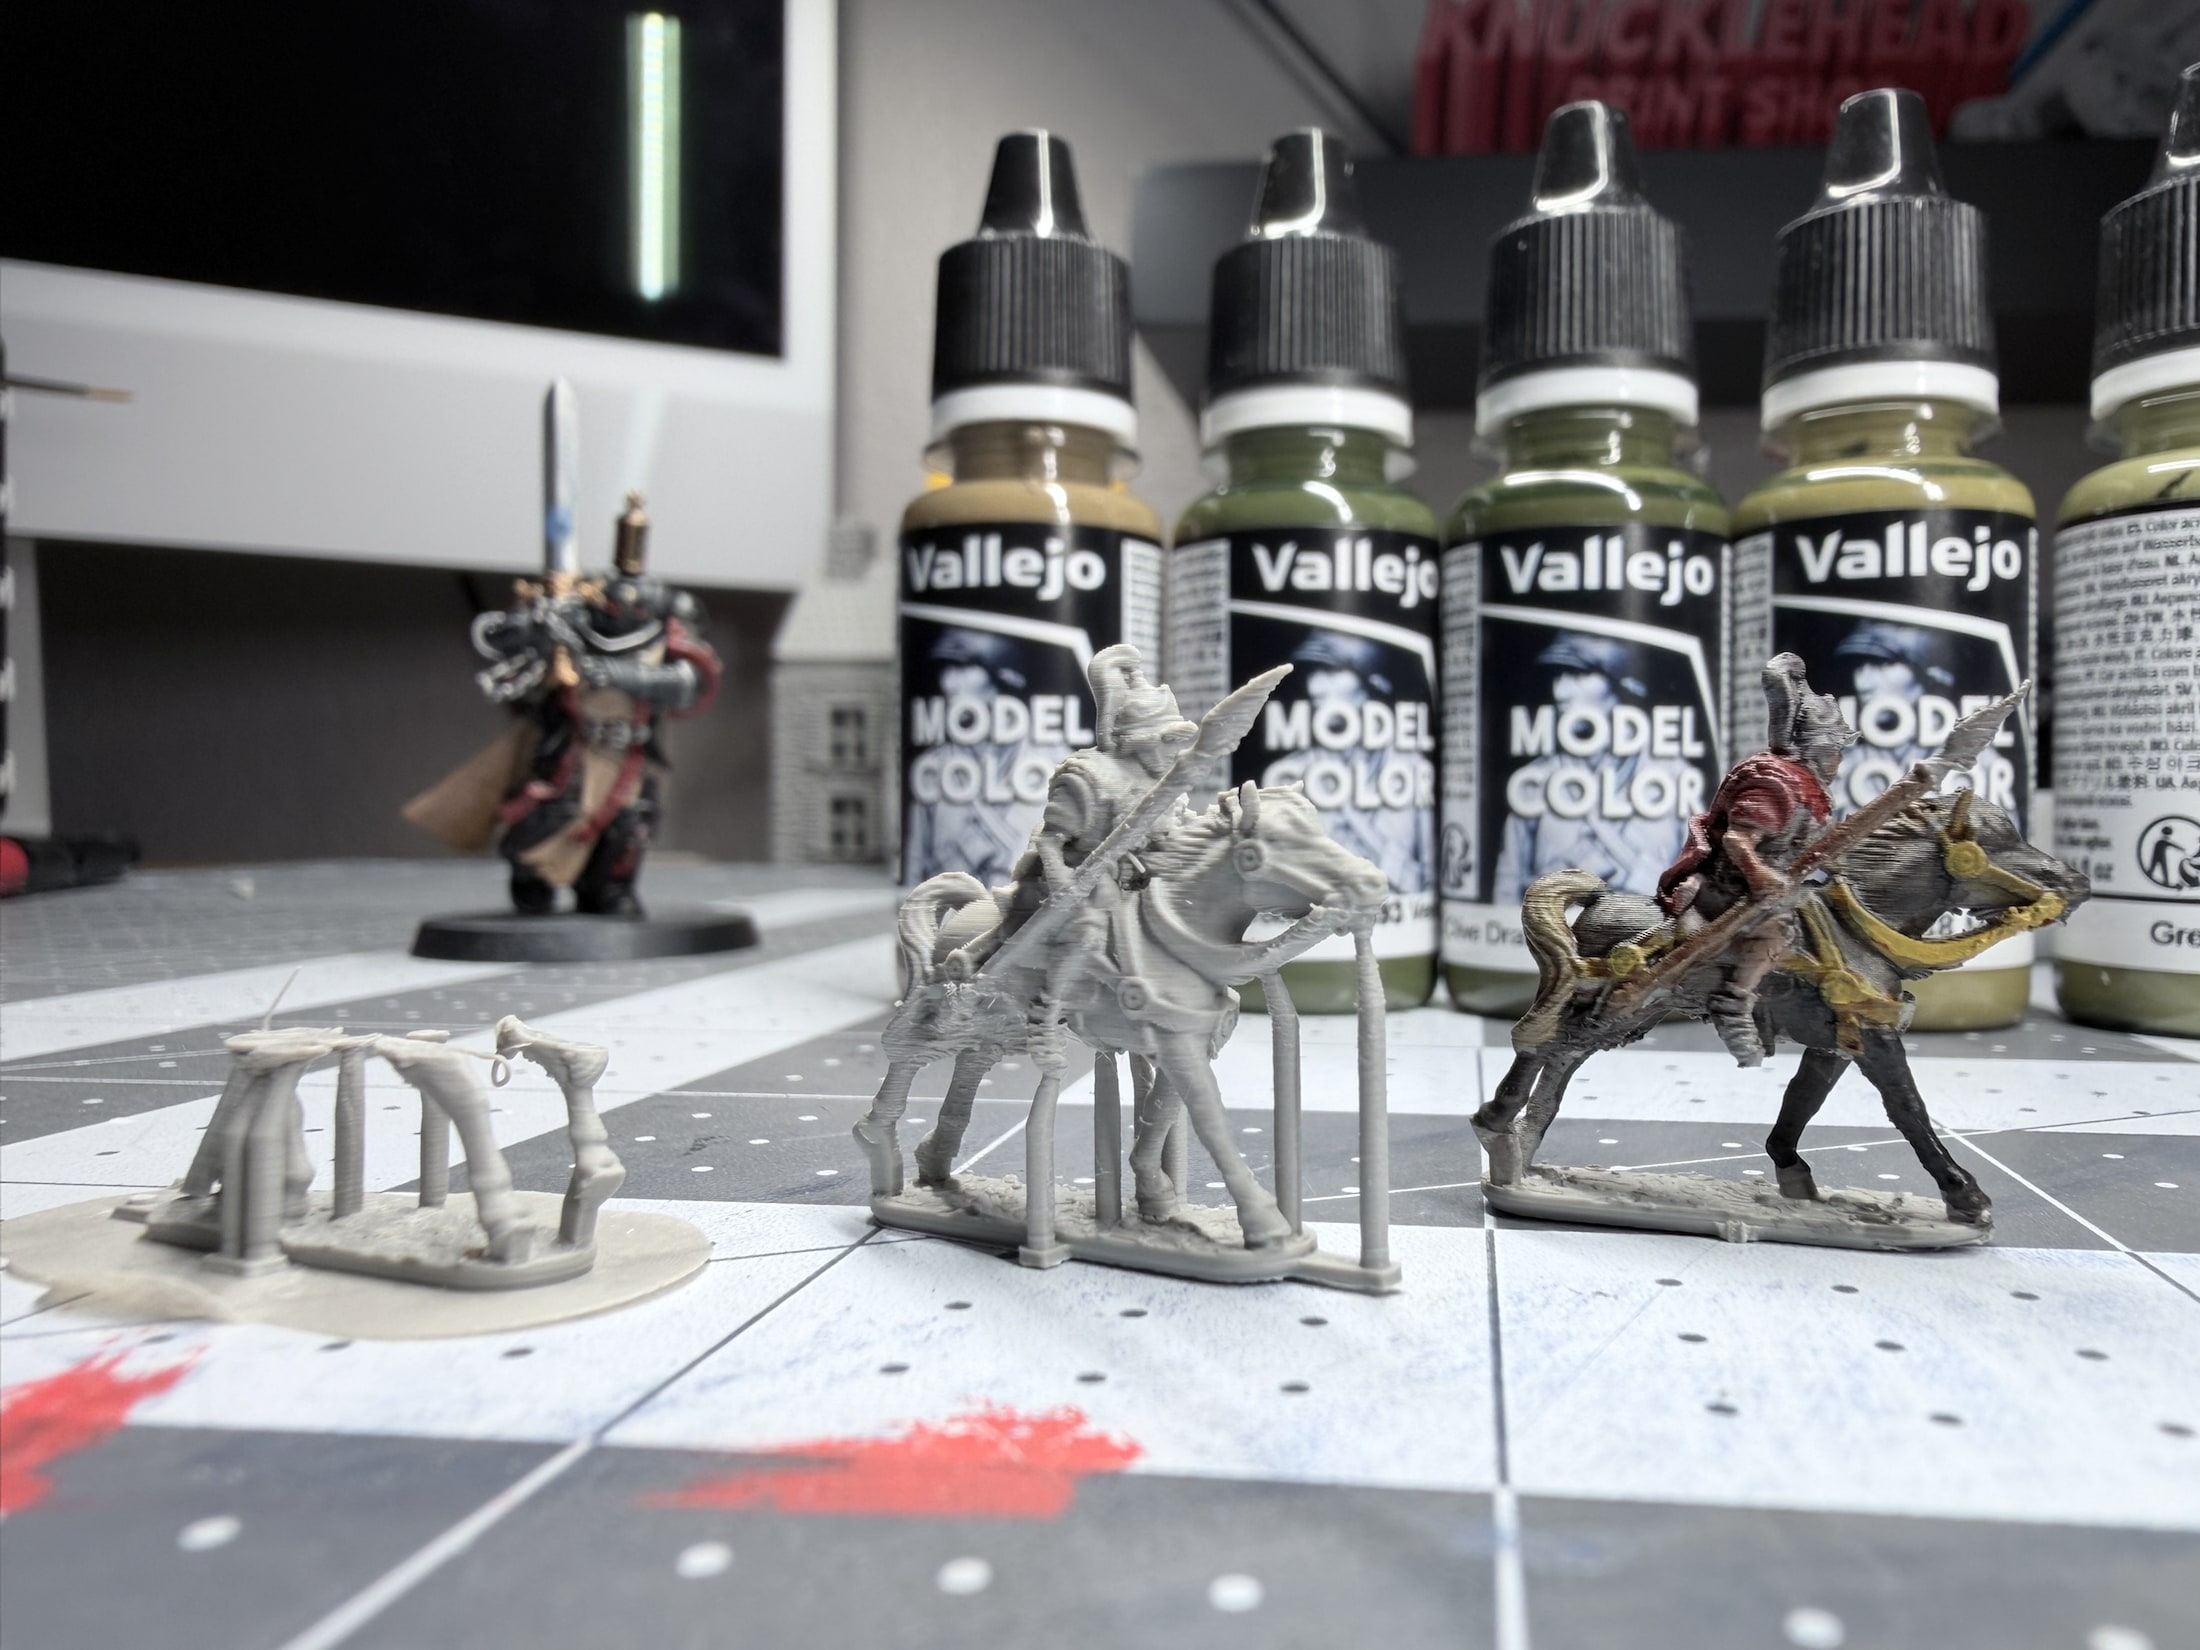
I was trying to print one of the 13.5mm mounted samples from Cromarty Forge. The file is part of the company’s free sample pack, which includes models from its 10mm, 13.5mm and 15mm ranges.
The print kept getting far enough to look promising. Then filament on one of the small sections would curl upward. Once that curl rose into the nozzle’s path, the nozzle caught it and the job was over.
At this scale, a horse and rider have exactly the sort of geometry that makes cooling difficult. Most of the model may be fine, but a thin leg, weapon or other isolated section can take only a moment to print. The nozzle returns before the previous layer has had enough time to firm up.
The failed print is on the left in the photo. The successful unpainted horse is in the center, with a painted example on the right.
The Reddit post that fixed it
A few days ago, u/ObscuraNox posted a detailed explanation of the “Curling Tower” in r/FDMminiatures.
The tower is a hollow square printed beside the miniature. After the printer finishes a layer on the model, it moves over to the tower and prints there for a few seconds. That gives the fresh layer on the miniature a cooling break before the nozzle comes back.
The tower does not need to match the full height of the model. You can shorten it so it stops after the vulnerable section reconnects with the rest of the miniature. That keeps the extra time and filament fairly low.
In the Reddit example, the test miniature took 3 hours 45 minutes by itself. Printing a second copy as a cooling buffer increased the job to 6 hours 56 minutes. An adjusted tower brought it to 4 hours 14 minutes. That was a 13 percent increase instead of 86 percent.
What I did
I downloaded the free Curling Tower from MakerWorld, placed it away from the horse and sized it for the part of the print that needed help.
The next horse finished.
This was not a controlled test with ten copies and a spreadsheet. It was one small model that had been failing, followed by a successful print after adding the tower. That is enough for the tower to earn a place in my slicer toolbox.
The useful part is that I did not have to enlarge the horse or print a second one. The model stayed at 13.5mm, and the printer spent its extra time on a simple object with almost nothing of its own to go wrong.
Why not just increase minimum layer time?
That question came up several times in the Reddit discussion.
Minimum layer time is still worth checking. The limitation is that many slicers try to reach the target by slowing the print until they hit the configured minimum speed. On an extremely small layer, there may not be enough path for that slowdown to create the cooling time you asked for. The printer reaches its minimum speed and keeps going.
The tower forces the nozzle to spend time somewhere else. It also moves the hot nozzle away from the vulnerable section instead of leaving it close to the soft filament.
Other approaches may work too. A dwell command, smooth timelapse or a second miniature can all add time between layers. The tower appealed to me because it is visible in the slicer, easy to resize and does not require changing printer code.
When I would use it
I would not add a cooling tower to every miniature. Most prints do not need one.
It makes sense when a model repeatedly fails at a thin or isolated section and the normal cooling checks are already covered:
- Make sure the part-cooling fan is clean and actually running as expected.
- Check that the filament temperature is not higher than necessary.
- Confirm that the failure is curling, not poor bed adhesion or a bad support.
- Try the slicer’s minimum layer-time settings first.
If the nozzle is still catching a curled section, the tower is a cheap next step. It adds a little material and time, but considerably less than finding another failed horse on the build plate.
Files and sources
- Original Curling Tower post by u/ObscuraNox
- Free Curling Tower download on MakerWorld
- Free Cromarty Forge 10mm, 13.5mm and 15mm sample files
The horse file is provided by Cromarty Forge for personal use. The print and photography are mine.
← Back to all posts
The comment section
Checking the bench for comments...